The blog set-up program has ended but see below for a step-by-step tutorial on how to get your blog set-up!
The video below will walk you through step by step directions to get your blog set-up in less than 10 minutes!
Below are step by step directions with screenshots taken from the video to help you get started.
Go to HostGator.com
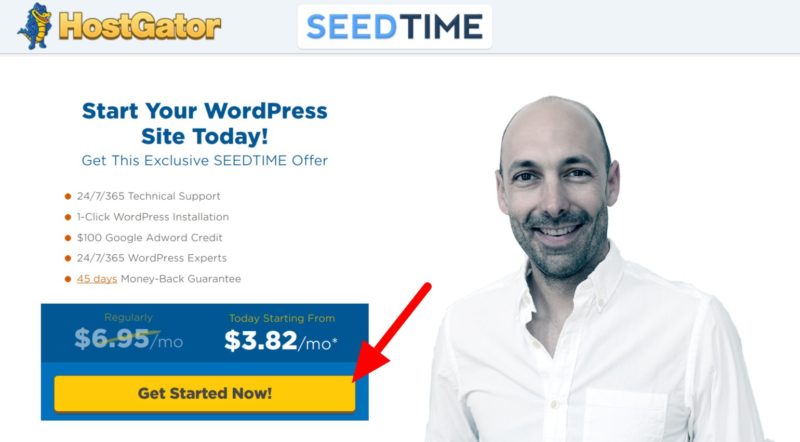
Go sign up for a hosting package at HostGator.com (using this link to get your 45% off discount). When the HostGator homepage loads, click the button labeled “Get Started Now!”.
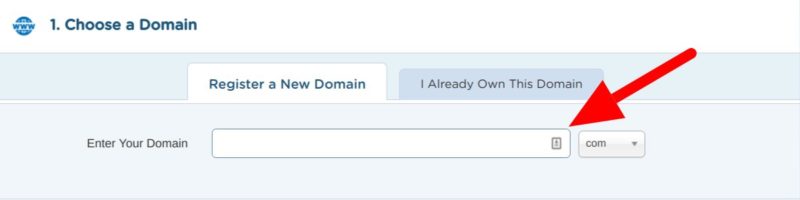
1. Choose a Domain
Enter the domain you would like in the “Enter Your Domain” section. (If you have already purchased your domain name, you can enter it in the “I Already Own This Domain” section.)
If available, it will show up in the list. You can purchase as many domains as you would like – .com, .org, .net – but I recommend at least starting with the .com.
You will see a section that says Domain Privacy Protection with the box checked – I recommend keeping this for your domain because it will protect your online privacy.
But if you would like to save $12.95/year, feel free to skip this.
2. Choose a Hosting Plan
Now you will need to select a hosting package. I recommend the Baby Plan – that offers you Unlimited Domains – but the Hatchling Plan will do as well.
You can save more money by signing up for a longer term but you can pay month to month as well.
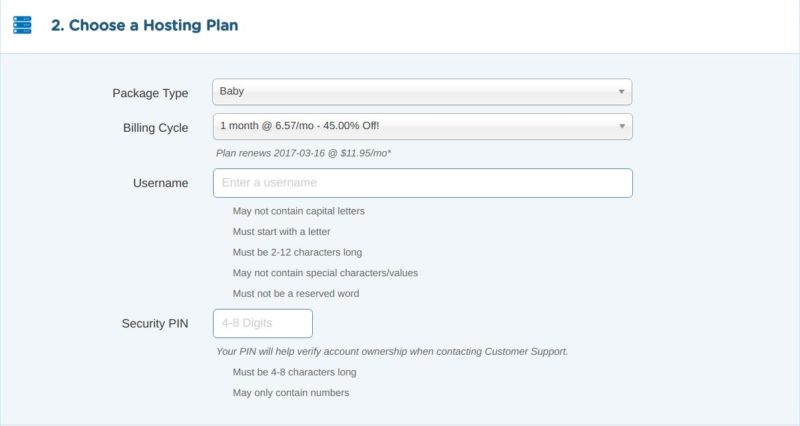
After picking your package type, you’ll need to enter your preferred username and security PIN.
3. Enter Your Billing Info
You will enter your personal and billing information in this section – you can pay with credit card or PayPal.

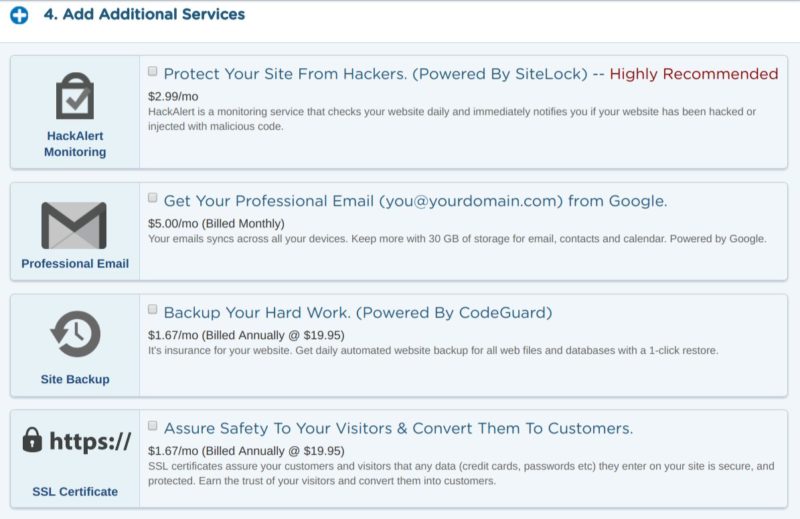
4. Add Additional Services
In this section, you can pick any of the additional services that you want but my recommendation is to move forward without anything additional at this time – you can always go back and add them on later.
5. Enter a Coupon Code
You’ll see your coupon code – SEEDTIME – is already entered to get you the 45% discount!

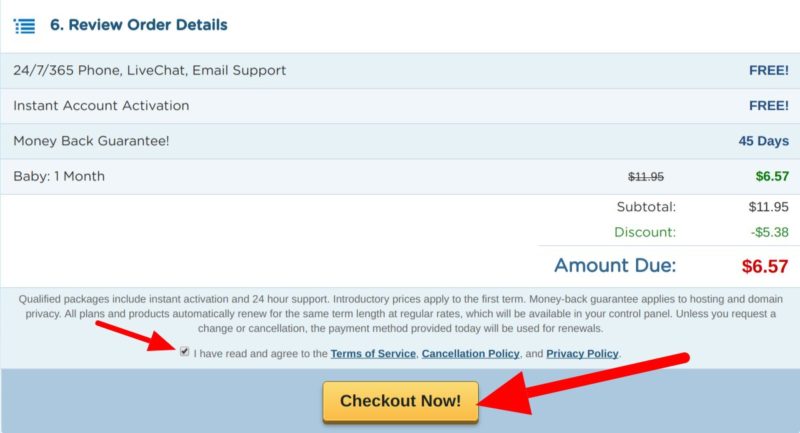
6. Review Order Details
Review all of your details and make sure everything is accurate. If it is, check the box stating that you agree with the terms and conditions (after reading them, of course…) and click Checkout Now!
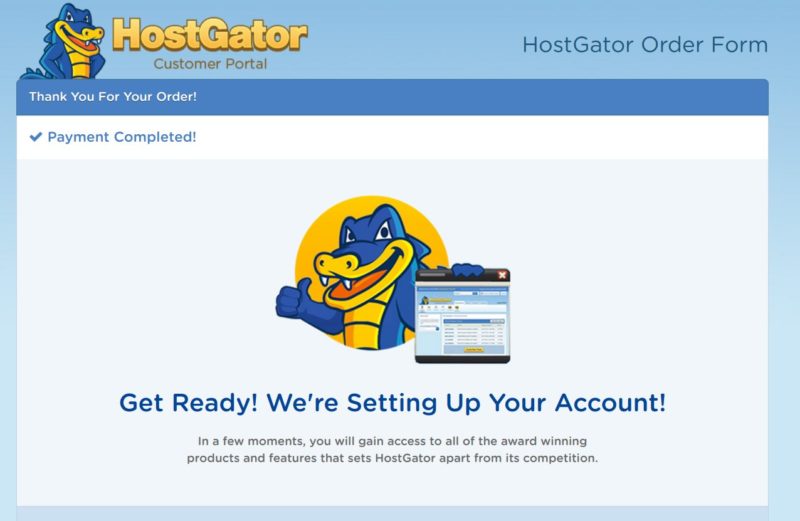
Once your payment goes through, you’ll be redirected to this page:
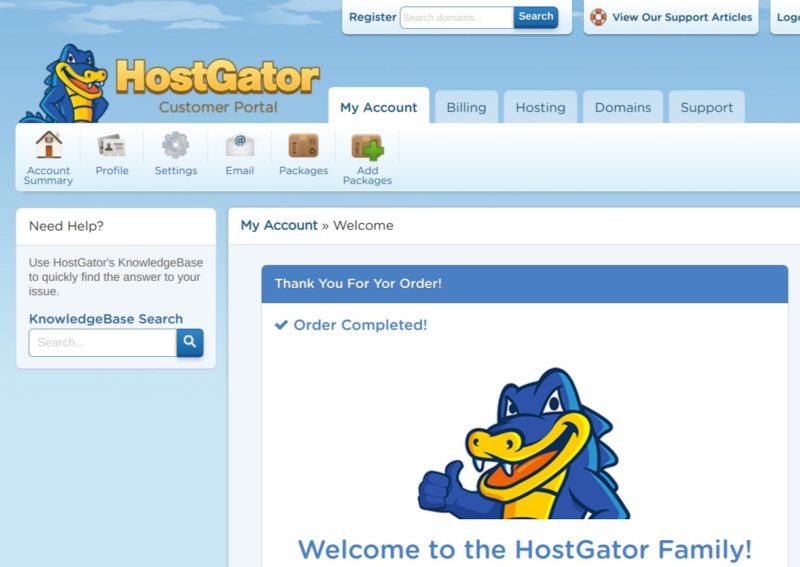
Then once your account is setup and your order is complete, you’ll be directed to this page:
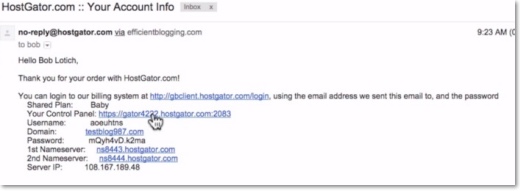
7. Go Check Your Email
You should receive two emails – one with login information for the billing and one with login information for your account.
When you receive the email with your account information (see below), click on the “Your Control Panel” link.
8. Control Panel Login
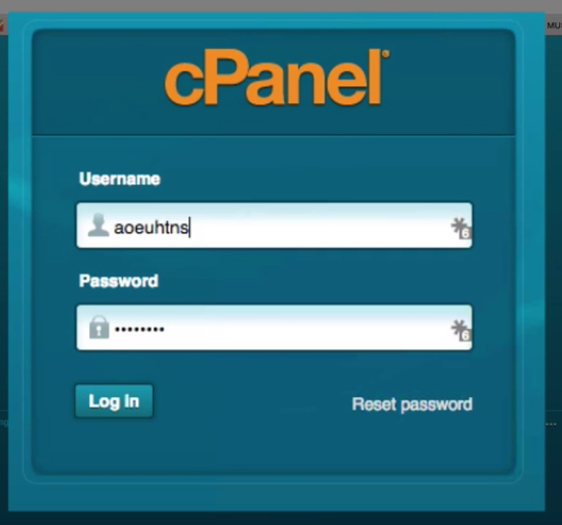
After clicking on Your Control Panel link, you will take your username and password from the email above and enter it into the cPanel to log-in to your control panel.
9. WordPress Installation
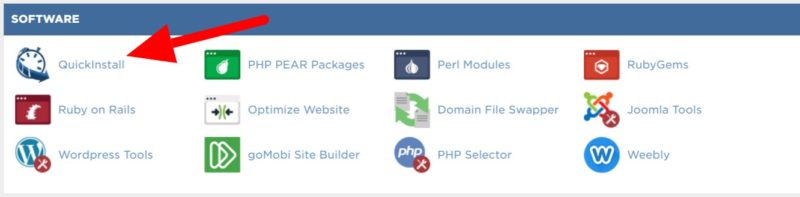
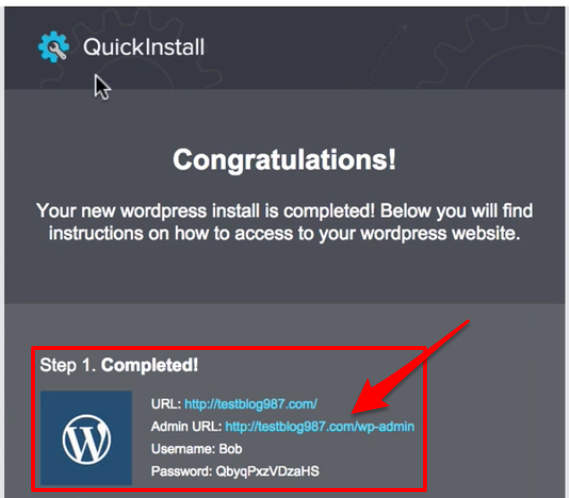
Once in the Control Panel, you will scroll to the bottom of the page and click on QuickInstall under Software.
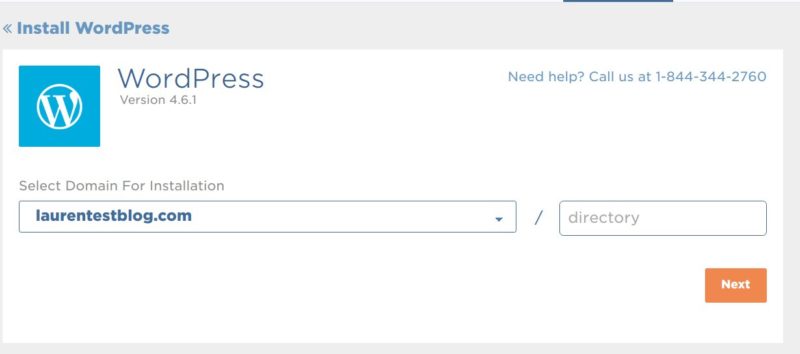
You will find the WordPress install under Site Builders & CMS down on the page – click on WordPress.

You will pick your domain from the dropdown and click next.
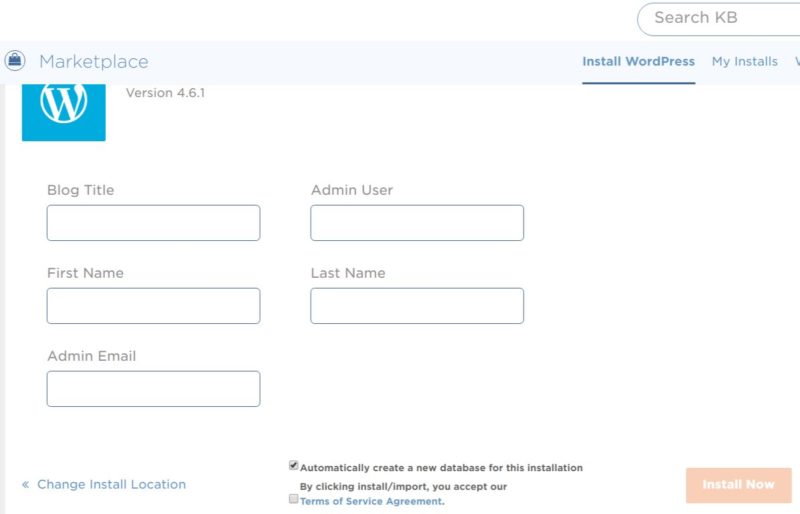
You will fill out the Install WordPress form using your information – blog title, admin user, your name and admin email address.
Check the Terms of Service box and click the orange Install Now button.
Once your install is complete, you will see the page below which provides you with your URL Admin area, username and password.
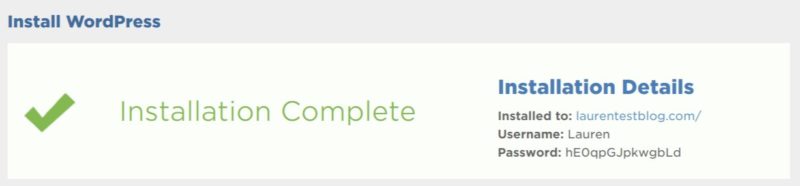
You will also receive this information via email for safe keeping.
10. Accessing Blog Admin Area
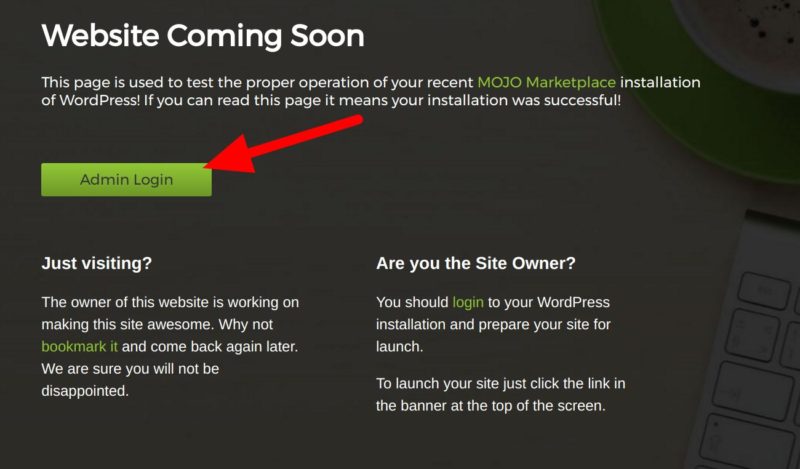
If you see this page, it means your installation was successful and you can click on the green Admin Login page to get into your site. If you don’t see this, it means the DNS is still propagating through the internet. This can sometimes take up to 24 hours so if this is your situation, just jump on the chat box with HostGator to see what’s going on and to make sure everything was installed correctly.
Once you are on this page, you will use your username and password from the Quick Install email that you received.
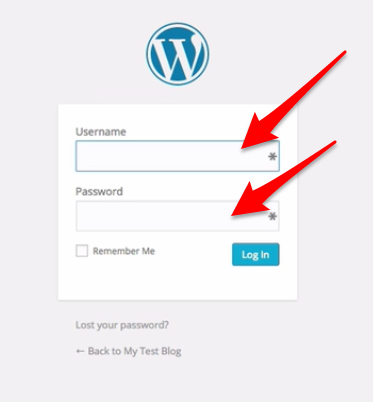
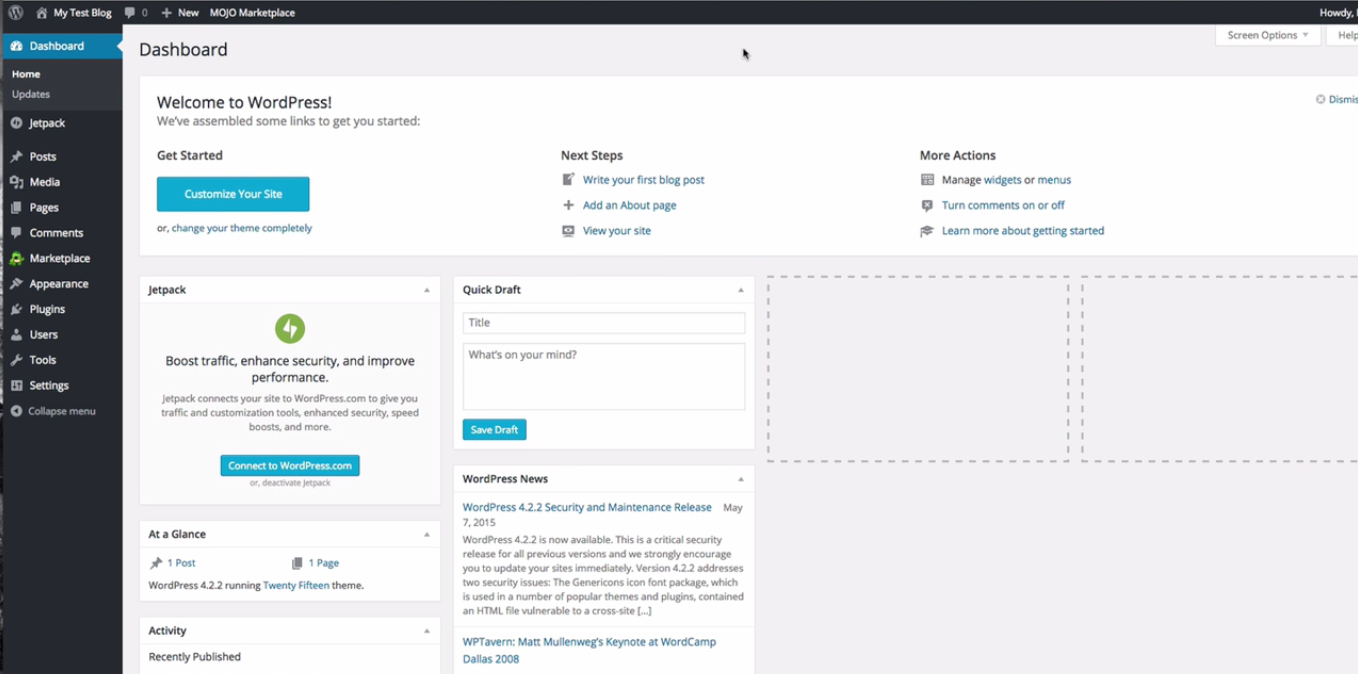
After logging in, you will be on your Dashboard! Mark this page as a favorite and save your log-in information – this is where you will go to update your blog, create blog posts, etc.
11. Learn the WordPress basics
If you are new to WordPress, you can sign up for the Start Your WordPress Blog course that will teach you everything you need to know about your new WordPress blog.